Most sites spend weeks polishing their writing, then upload the images that go with it as IMG_4829.jpg, full size, straight from a phone. That one habit quietly costs traffic every day, slower pages, missed Google Images clicks, and images that AI search tools can’t understand well enough to cite.
Image SEO isn’t a side task anymore. Images now show up across regular web results, Google Images, Google Lens visual search, Google Discover, and increasingly inside AI-generated answers.
A page with genuinely optimized images has a real, measurable advantage in all of those places, and it’s one of the few parts of SEO you can fully fix in an afternoon.
This guide walks through exactly how to optimize images for SEO in 2026, from picking the right file format to making sure AI search tools can actually understand what your images show.
What Does It Mean to Optimize Images for SEO?
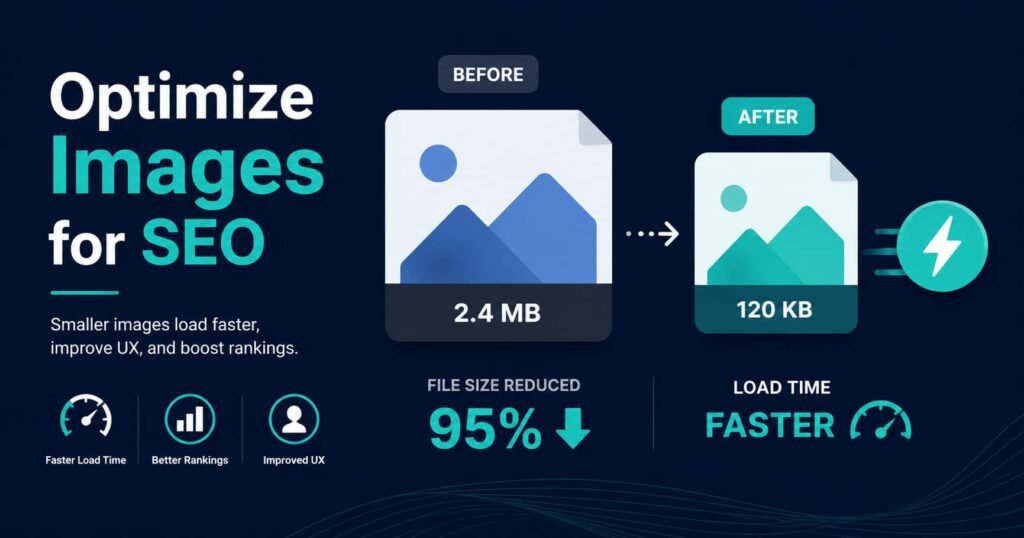
Optimizing images for SEO means preparing every image on your site so search engines can crawl it, understand what it shows, and serve it in the right place, while also making sure that image doesn’t slow your page down.
It covers two categories of work:
- Technical factors: file format, compression, dimensions, lazy loading, and how fast an image loads
- Semantic factors: file names, alt text, captions, and structured data that tell search engines and AI systems what’s actually in the image
Get both right, and images stop being dead weight on your page and start actively pulling in traffic of their own.
It’s worth being specific about who this actually benefits. Google Images sends real, ongoing traffic on its own, separate from your regular web rankings.
Product-heavy and visually-driven sites (ecommerce, recipes, travel, design, DIY) tend to see the biggest gains, since a large share of their potential audience searches visually or browses images before ever reading a word.
But even a purely text-heavy blog benefits from faster-loading, better-structured images, since page speed and Core Web Vitals affect every page’s ranking regardless of niche.
Why Image SEO Matters More in 2026
A few real shifts have made this more important than it used to be, not less:
- Google Lens and visual search have gone mainstream. People increasingly point a camera at something and search visually instead of typing. Optimized images are what makes a product or page discoverable through that channel at all.
- AI Overviews and AI search tools now reference images, not just text. When an AI-generated answer includes a visual, it’s pulling from pages with clear, well-labeled, contextually relevant images, not random unlabeled files.
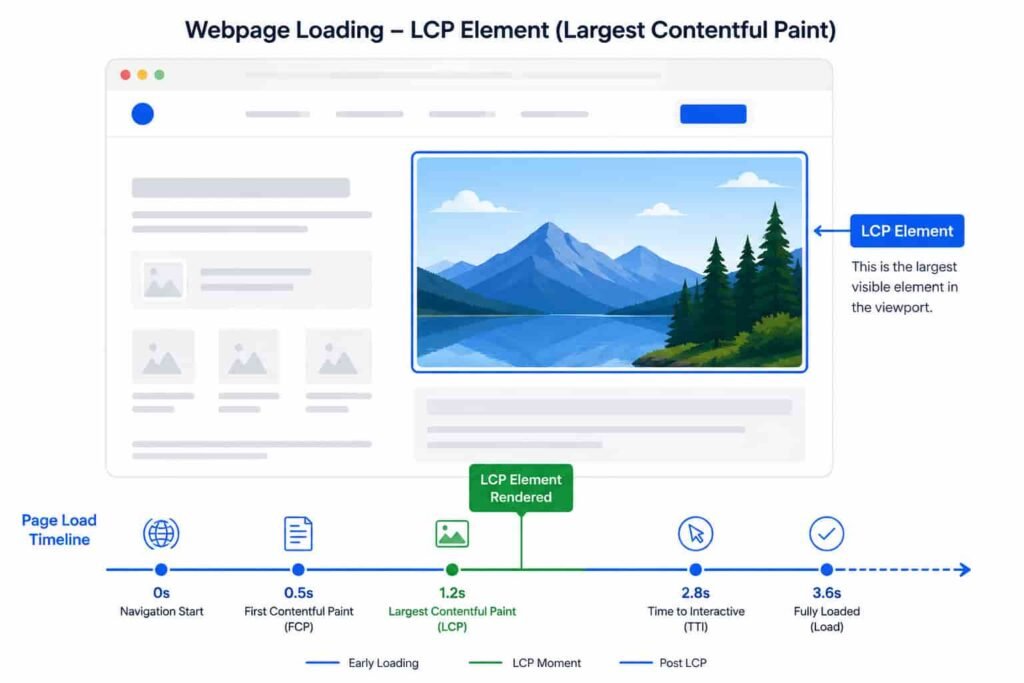
- Images are frequently the largest element on a page, which means they’re often what determines your Largest Contentful Paint (LCP) score, one of Google’s three core ranking-relevant speed metrics. An unoptimized hero image can single-handedly tank a page’s Core Web Vitals.
- Most sites still don’t do this properly. Image SEO remains one of the more overlooked areas of on-page work, which means the sites that do get it right have a real, lasting edge over ones that don’t.
None of this replaces the fundamentals from our on-page SEO checklist, image SEO sits inside that broader picture, not apart from it. A page with perfectly optimized images but a weak title tag or thin content still won’t rank. Think of this guide as one deep, thorough chapter of a larger book.
The Complete Image SEO Checklist
1. Choose the Right Image Format
Format is the first decision, and it affects everything downstream, file size, quality, and even whether an image can be transparent or animated.
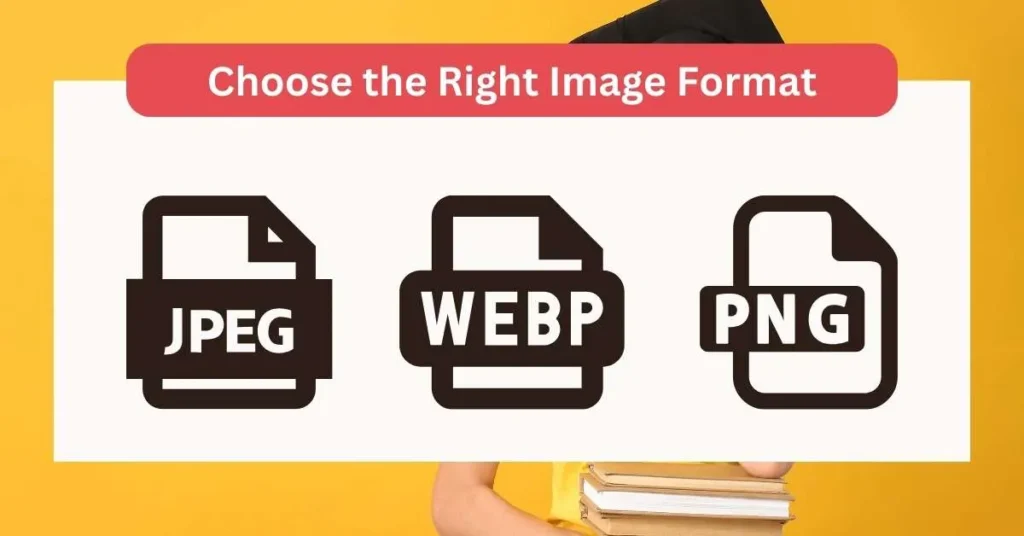
- WebP: the safe modern default for almost everything. Strong compression, near-universal browser support, and works for both photos and graphics.
- AVIF: the newer, even more efficient format. It compresses noticeably smaller than WebP at similar visual quality, and browser support is now strong enough to use it as your primary format with WebP as a fallback.
- JPEG: still fine for photographs if you’re not ready to convert everything, but it’s the least efficient of the modern options.
- PNG: reserve this for images that genuinely need transparency; the file sizes run larger than WebP or AVIF for no visual benefit otherwise.
- SVG: the right choice for logos, icons, and simple vector graphics. Tiny file size, and it scales to any resolution without blurring.
Checklist:
☐ Convert primary content images to AVIF or WebP
☐ Keep a fallback format for the rare browser that doesn’t support AVIF
☐ Use SVG for logos and icons instead of PNG or JPEG
☐ Reserve PNG only for images that actually need transparency
2. Compress Every Image
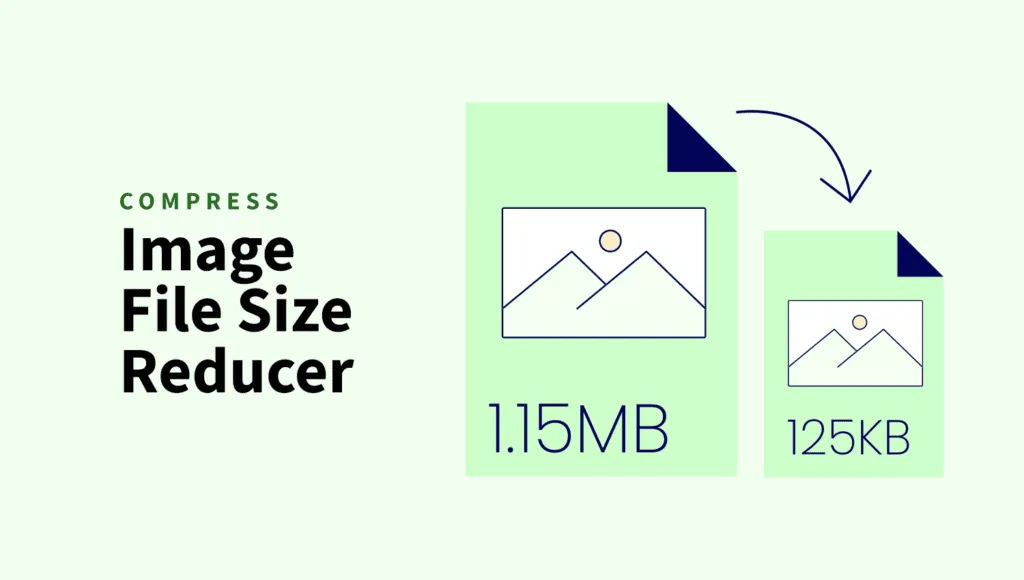
A correctly formatted image can still be needlessly heavy if it isn’t compressed. This is the single fastest fix on this entire list.
Checklist:
☐ Run every image through a compressor before uploading, TinyPNG, Squoosh, or ShortPixel all work well
☐ Aim to keep individual images well under 200KB where possible, and always under 500KB
☐ Re-check compression after any format conversion, since some tools handle it better than others
☐ Never upload an image straight from a camera or phone without compressing it first
3. Resize Images to Their Actual Display Dimensions
Uploading a 4000px-wide photo to display at 800px wastes bandwidth and slows your page for no visual gain, the browser still has to download the full file before shrinking it.
Checklist:
☐ Resize images to match the largest size they’ll actually display at
☐ Use responsive images with the `srcset` and `sizes` attributes so mobile devices download smaller versions automatically
☐ Avoid relying on CSS or HTML width/height attributes alone to “shrink” an oversized file, the browser downloads the full file either way
4. Write Descriptive File Names
Search engines read file names as a signal about what the image contains, before they even process the image itself.
Checklist:
☐ Rename every image before uploading, never leave it as IMG_4829.jpg or Screenshot 2026-01-15.png
☐ Use hyphens between words, not underscores or spaces
☐ Keep the primary keyword in the file name where it fits naturally, without forcing it into every single image
Example:
Weak: `IMG_4829.jpg`
Strong: `optimize-images-for-seo-webp-compression.webp`
5. Write Alt Text That Actually Works
Alt text is the single highest-leverage piece of image SEO you can write. It’s read aloud by screen readers, displayed if the image fails to load, and used by both Google and AI systems to understand what the image shows.
The formula: describe the subject first, then add relevant context. Skip phrases like “image of” or “photo showing”, they waste characters without adding meaning.
Checklist:
☐ Write alt text for every image, no exceptions
☐ Aim for roughly 80–125 characters, long enough to be descriptive, short enough to stay useful
☐ Include your primary keyword naturally, once, only where it genuinely fits
☐ Never stuff multiple keywords into a single alt tag, it hurts both accessibility and rankings
Example:
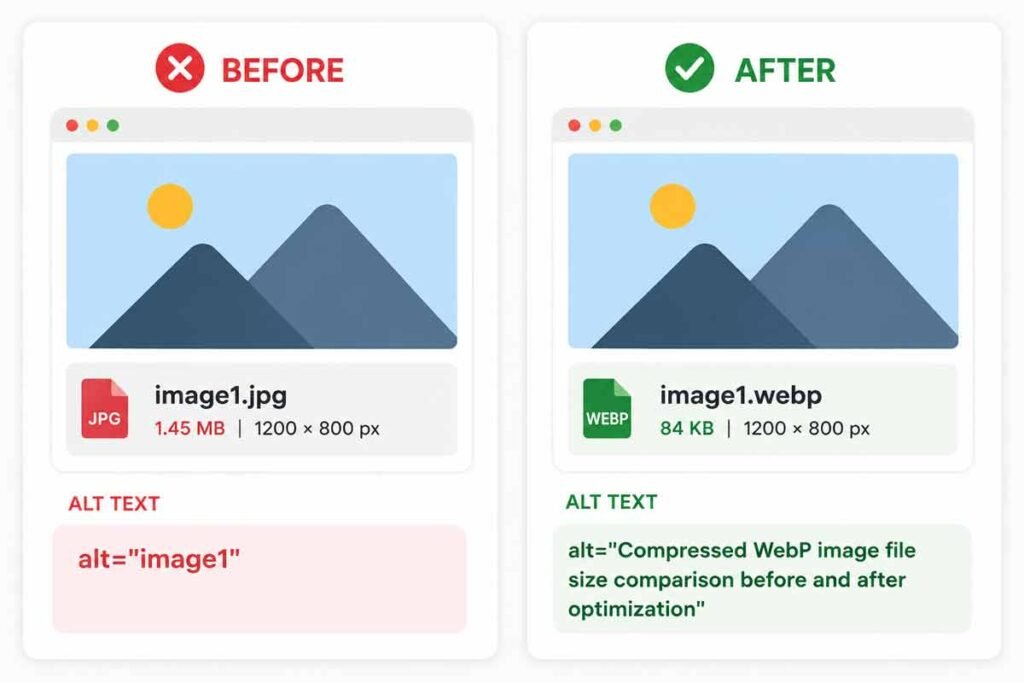
Weak: `alt=”image1″`
Strong: `alt=”Compressed WebP image file size comparison before and after optimization”`
6. Add Captions Where They Add Value
Captions sit visibly under an image, and readers actually read them, often before they read the surrounding paragraph. That makes them a genuine content signal, not just a formatting choice.
Checklist:
☐ Add a caption when it clarifies something the image alone doesn’t, data source, context, or a key takeaway
☐ Skip captions on purely decorative images; forcing one in adds no value
☐ Don’t just repeat the alt text word-for-word in the caption, give each one a distinct job
7. Make Images Responsive
A single fixed-size image forces every device to download the same file, whether it’s a 5-inch phone screen or a 32-inch monitor.
Checklist:
☐ Implement `srcset` and `sizes` so browsers pick the right image size automatically
☐ Test your site on an actual mobile device, not just a resized browser window
☐ Make sure your CMS or theme isn’t silently serving desktop-sized images to mobile visitors
8. Use Lazy Loading, Correctly
Lazy loading delays off-screen images until a visitor scrolls to them, which speeds up initial load time. But it has one important exception.
Checklist:
☐ Add `loading=”lazy”` to every image below the fold
☐ Do not lazy-load your hero image or any image visible without scrolling, lazy-loading your Largest Contentful Paint element actually delays it and hurts your Core Web Vitals score, the opposite of the intended effect
☐ Test the difference with PageSpeed Insights before and after to confirm it’s actually helping
9. Optimize Specifically for Core Web Vitals
Images are frequently the single largest element on a page, which means they often are the metric Google is measuring. For the full picture on speed beyond images alone, see our guide on optimizing CSS to maximize website performance.
Checklist:
☐ Identify your Largest Contentful Paint element with PageSpeed Insights, on most pages, it’s an image
☐ Serve that specific image in a modern format, properly sized, and never lazy-loaded
☐ Add explicit `width` and `height` attributes (or CSS `aspect-ratio`) to every image so the browser reserves space and avoids layout shift as the page loads
10. Add Structured Data for Images
Structured data gives search engines and AI systems explicit, machine-readable information about an image, rather than making them infer it.
Checklist:
☐ Add ImageObject schema to key images, including caption and license information
☐ Add Product schema (which includes image data) to ecommerce product images
☐ Validate everything with Google’s Rich Results Test before publishing
11. Submit an Image Sitemap
An image sitemap tells Google about every image on your site directly, rather than relying entirely on discovering them by crawling. This matters most for larger sites and stores with images that aren’t always linked from a crawlable page.
Checklist:
☐ Include image URLs in your existing XML sitemap, or submit a dedicated image sitemap
☐ Prioritize this if you run an ecommerce site with large numbers of product images, our ecommerce SEO checklist covers the broader product-page context this fits into
☐ Resubmit or update it whenever you add a significant batch of new images
12. Host Images on Fast, Reliable Infrastructure
Even a perfectly optimized image loads slowly if it’s sitting on slow hosting.
Checklist:
☐ Use a CDN to serve images from a location close to each visitor
☐ Enable browser caching so returning visitors don’t re-download the same images
☐ Check your hosting or CDN’s own image-optimization settings, some auto-convert formats and can conflict with manual compression if not configured correctly
13. Optimize for Google Lens and Visual Search
Visual search, pointing a camera at something and searching by image instead of text, is now a meaningful discovery channel, especially for products.
Checklist:
☐ Use clean, well-lit, uncluttered images that clearly show the actual subject
☐ Surround images with genuinely relevant text content, since visual matching still relies partly on page context
☐ For product images specifically, follow ecommerce image best practices closely, plain backgrounds, multiple angles, accurate representation
14. Prepare Images for AI Overviews and AI Search
AI-generated answers increasingly include images, and they pull from pages that make an image’s meaning unambiguous.
Checklist:
☐ Make sure alt text and surrounding content clearly and specifically describe what an image shows, vague descriptions get skipped
☐ Keep structured data current and accurate, since that’s a primary signal AI systems rely on
☐ Place images near the text that explains them, rather than isolated in a gallery disconnected from context
15. Track Image Performance in Google Search Console
Most sites monitor their text rankings closely and never look at image-specific data, even though Search Console reports it separately.
Checklist:
☐ In Search Console, filter Performance reports by “Search type: Image”
☐ Look for images with high impressions but low clicks, that’s usually a sign the alt text or file name needs work
☐ Confirm your important pages are actually being indexed for image search, not just web search
16. Handle Image Licensing Properly
This isn’t a ranking factor, but it’s a real risk most checklists skip entirely.
Checklist:
☐ Only use images you own, have licensed, or have explicit permission to use
☐ Keep a record of licenses for stock images in case you need to prove usage rights later
☐ When in doubt, use a properly licensed stock source rather than pulling an image from a random search result
Tools to Audit and Fix Image SEO
You don’t need a paid toolkit to work through this checklist properly:
- Squoosh or TinyPNG: free, browser-based image compression that handles WebP and AVIF conversion
- Google PageSpeed Insights: identifies your LCP element and flags oversized or poorly formatted images directly
- Google Search Console: the “Search type: Image” filter under Performance shows exactly which images are earning impressions and clicks
- Google’s Rich Results Test: validates ImageObject and Product schema before it goes live
- Screaming Frog (free up to 500 URLs): crawls your site and flags every image missing alt text in one report, which is far faster than checking page by page.
Common Image SEO Mistakes to Avoid
- Uploading images straight from a camera or phone, uncompressed and unresized. This alone is responsible for a huge share of slow-loading pages.
- Leaving alt text blank. It’s a two-minute fix per image with real accessibility and ranking value.
- Lazy-loading the hero image. This is a genuinely common mistake that actively hurts Core Web Vitals instead of helping.
- Using generic file names.jpg tells search engines nothing about the image’s content.
- Ignoring Search Console’s image data. Most sites have no idea which of their images are gaining impressions but not clicks, an easy fix once you know to look.
- Treating structured data as optional. In 2026, it’s a meaningful signal for both traditional search and AI systems, not a nice-to-have.
- Redesigning or migrating a site without redirecting image URLs. A theme change or replatform that breaks old image URLs can wipe out accumulated Google Images rankings overnight, the same way broken page URLs hurt web rankings.
- Optimizing once and never revisiting it. New images get added constantly, a checklist that only ever gets applied to old content quietly falls behind with every new upload.
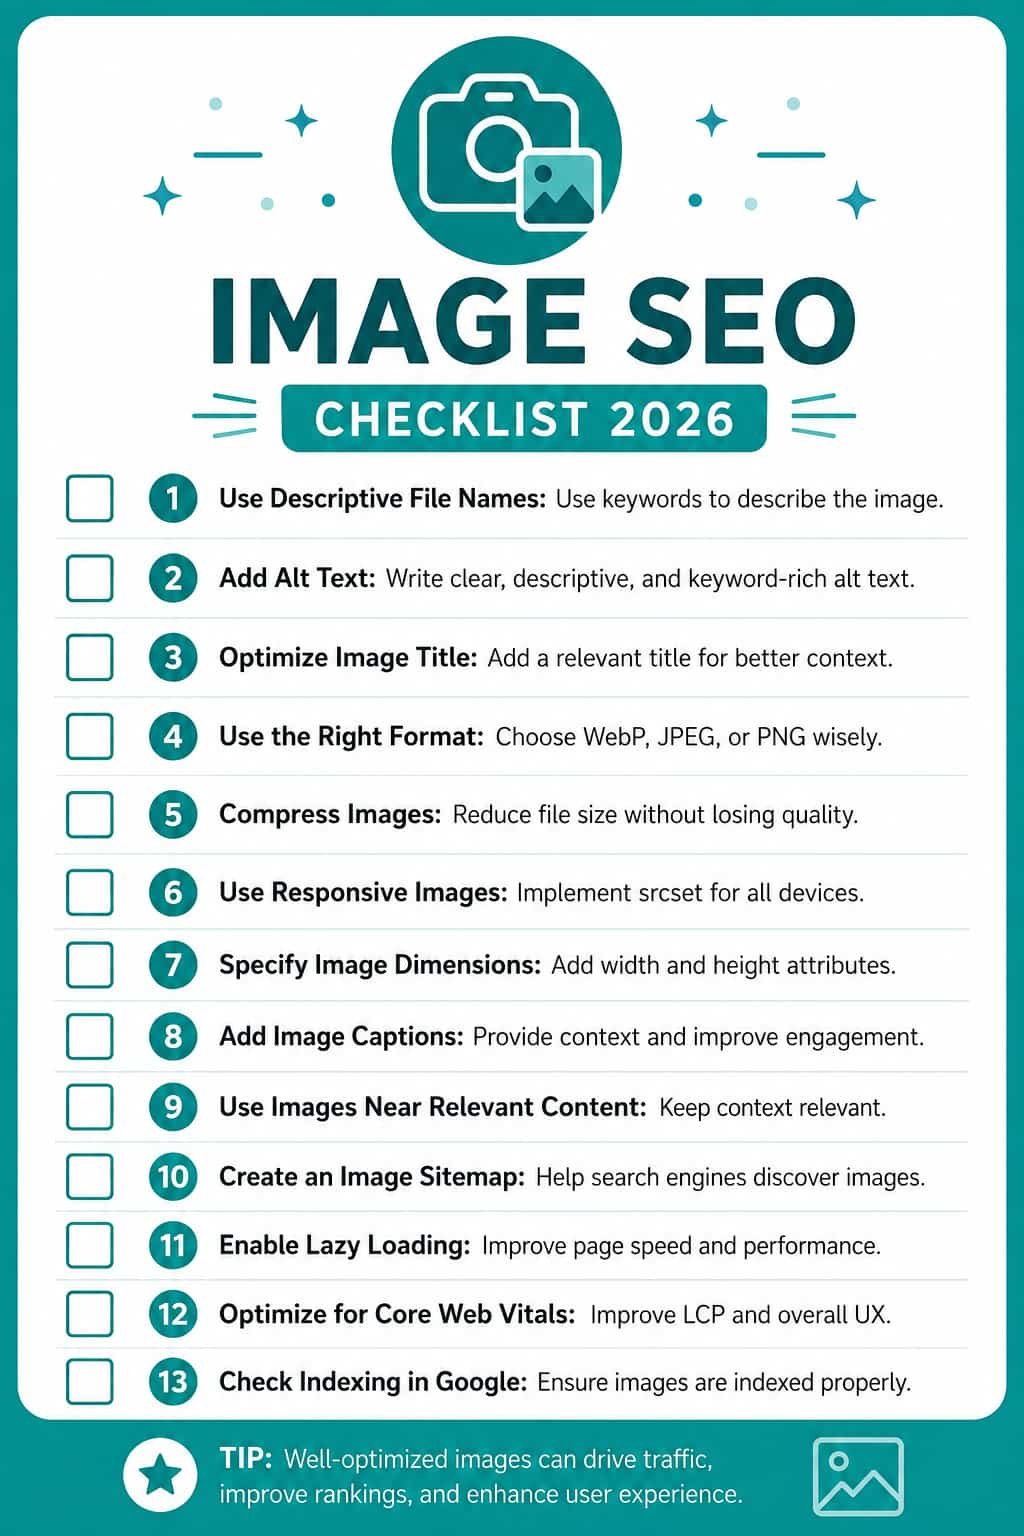
Quick-Reference Image SEO Checklist
☐ Images converted to AVIF or WebP with a fallback
☐ Every image compressed before upload
☐ Images resized to their actual display dimensions
☐ Descriptive, hyphenated file names on every image
☐ Alt text written for every image, 80–125 characters, keyword used naturally
☐ Captions added where they genuinely add value
☐ Responsive images implemented with srcset and sizes
☐ Lazy loading applied below the fold only, never on the hero/LCP image
☐ Explicit width/height or aspect-ratio set on every image
☐ Structured data added and validated
☐ Image sitemap submitted, especially for larger or ecommerce sites
☐ Images served from a CDN with caching enabled
☐ Search Console’s image search data reviewed regularly
Frequently Asked Questions
Should I use WebP or AVIF in 2026?
AVIF compresses better and is now well-supported, so it’s a reasonable primary format if your platform supports it. If you want the simpler, safer option with slightly less compression, WebP remains an excellent default. Either is a major upgrade over JPEG or PNG alone.
Does EXIF metadata affect image SEO?
Its impact is minor for most sites and shouldn’t be a priority. Geolocation data in EXIF can help in specific local-search contexts like real estate or travel listings, but for general image SEO, your time is much better spent on alt text, compression, and structured data.
Do I need an image sitemap for a small site?
Not urgently. It matters most for larger sites and ecommerce stores with large image libraries that might not all be discoverable through normal crawling. A small blog with a handful of well-linked images usually gets crawled fine without one.
Does lazy loading hurt SEO?
Applied correctly, on images below the fold, it helps by speeding up initial page load. Applied incorrectly, on your hero image or anything visible without scrolling, it actively delays your Largest Contentful Paint and can hurt your Core Web Vitals score. The rule is simple: below the fold, lazy-load; above the fold, don’t.
How is image SEO different for ecommerce product photos?
The fundamentals are the same, but ecommerce adds a few extras: Product schema markup with image data, consistent plain backgrounds for visual-search matching, multiple angles per product, and, because catalogs are large, an image sitemap becomes far more important than it is for a typical blog.
What’s the single highest-impact fix if I only have time for one?
Compress and correctly format your images. It’s the fastest to implement, it improves Core Web Vitals immediately, and it benefits every single image on the site at once, where alt text and structured data have to be done one image at a time.
Do I need to redo image SEO on old blog posts, or only new ones?
Both, but prioritize by traffic. Start with your highest-traffic existing pages, since fixing images there has the fastest measurable impact, then apply the same checklist to everything you publish going forward. Treat it the same way you’d treat updating outdated statistics in an old post, worth revisiting periodically, not a one-time task.
Final Thoughts
Image SEO in 2026 covers real ground beyond the old advice of “add alt text and compress your files.” Format choice, Core Web Vitals, structured data, Google Lens, and AI search visibility are all part of the same picture now, and most sites still aren’t handling all of it, which is exactly why it’s worth doing properly.
Work through the checklist above on your next batch of uploads, then go back and fix your highest-traffic existing pages first. Images are one of the few areas of SEO where a single afternoon of focused work produces a measurable, lasting improvement.
